In today’s world, microservices architecture is taking over pretty much everything. The deployment mechanism that goes with microservers is containers. When you have a lot of containers in your application you need to have a platform to manage those containers. That’s where the Kubernetes comes into the picture.
What is Kubernetes
Kubernetes is an open-source system for automating deployment, scaling, and management of containerized applications.
Other key features represents,
- Automatic binpacking
- Horizontal scaling
- Automated rollouts and rollbacks
- Storage orchestration
- Self-healing
- Service discovery and load balancing
- Secret and configuration management
- Batch execution
On top of everything, it’s a product by Google. They have been running their services on Kubernetes for a long time now. If you are new to Kubernetes, read this article and this article to get started. Further to get to know about its components read this article. Kubernetes Architecture is as follows and you can read about it more here.

Running locally via Minikube
Next few steps will take you through the configuration steps you will need to know in order to run Kubernetes locally and Minikube is the recommended approach. It is an awesome tool that allows you to run a single-node Kubernetes cluster inside a Virtual Machine (VM) on your computer. It is the easiest way to try out Kubernetes without any hassle.
Install Minikube
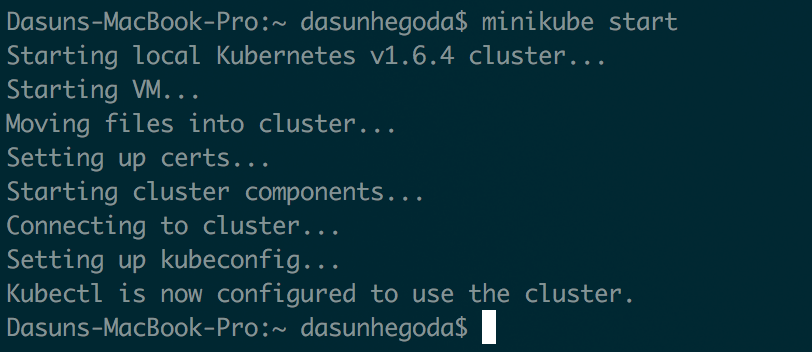
You need to follow these steps to get Minikube in your computer which is straightforward. Once you start the cluster you should get the below output.
Verify Minikube
minikube status
The above command will allow you to get the status of the Minikube cluster. You should get the below output if the command is successful.

Now, let’s try to connect to our Minikube from kubectl.
kubectl get nodes
Output will be as shown below.

Minikube/Kubernetes Dashboard
There is a web based dashboard that works along with the Kubernetes environment. To access the Kubernetes Dashboard, lets run this command.
minikube dashboard
The above command will launch Kubernetes Dashboard on your default browser.
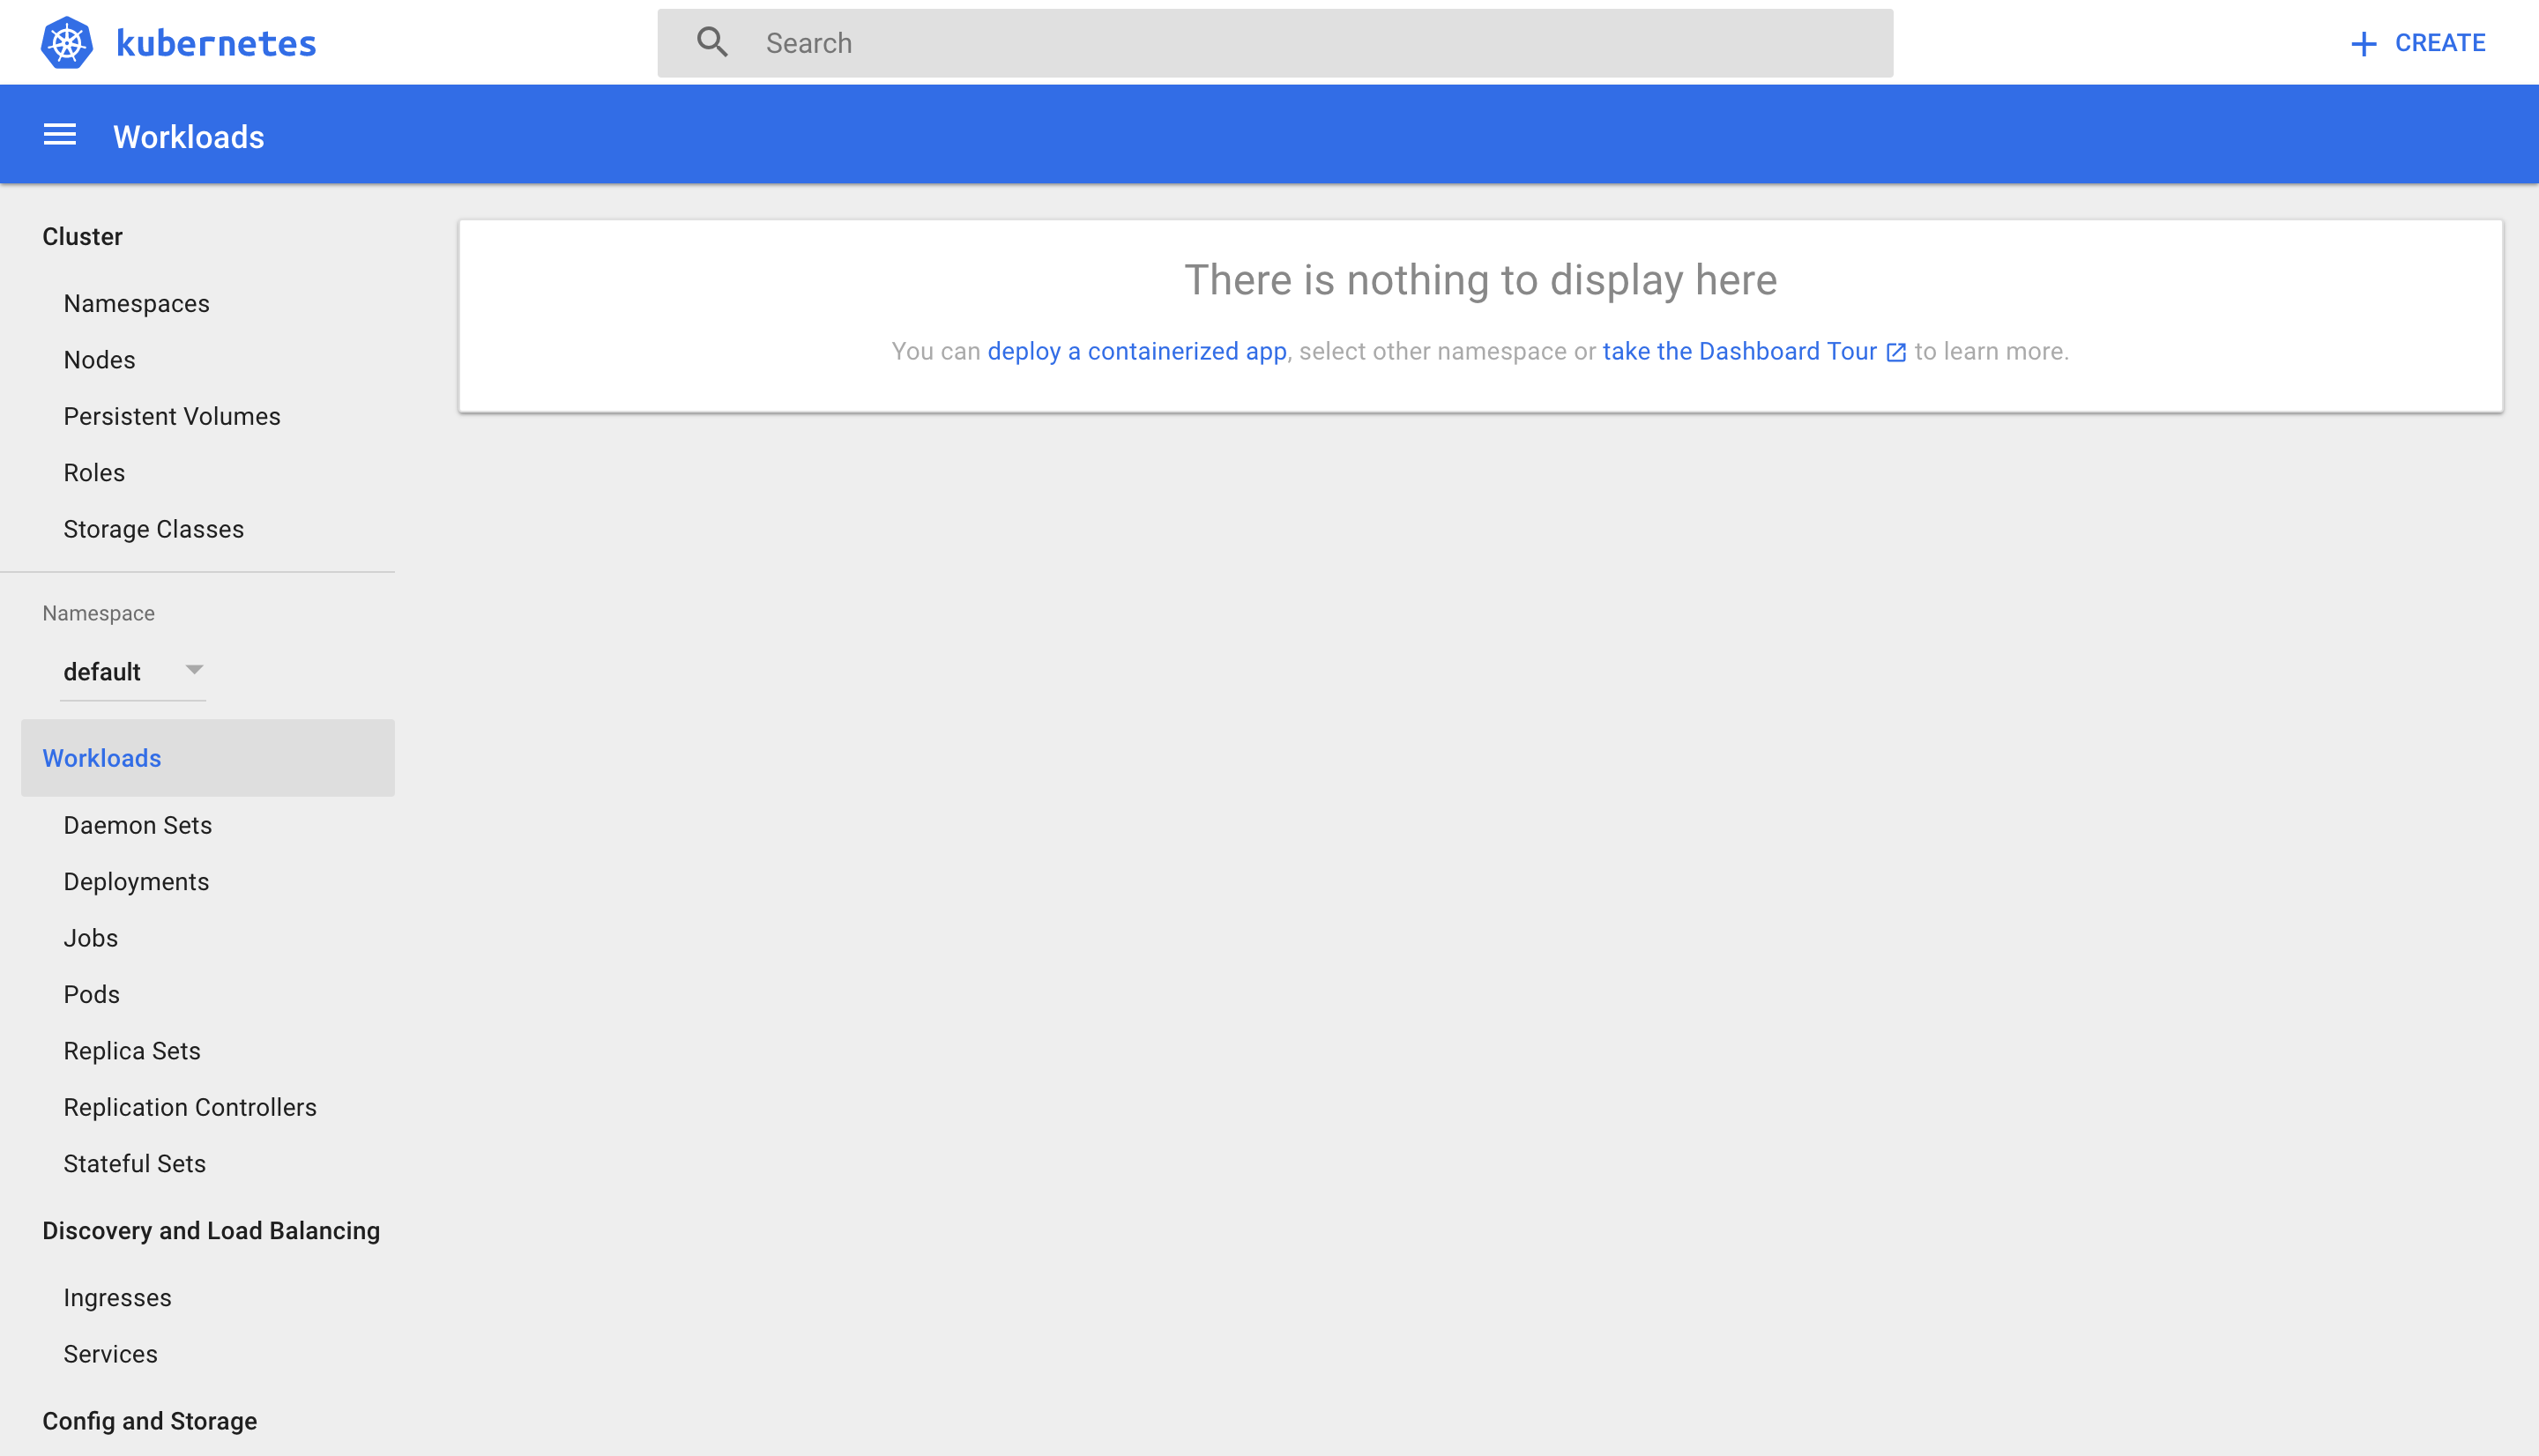
As you can see there are no deployments right now.
Running a Container
For example, let’s run a Nginx container to see this in action. Run the command as shown below.
kubectl run dh-nginx --image=nginx --port=80
The above command should give you the below output.

Now, if you go to the deployment section of the Dashboard (what we accessed earlier), you should be able to see your new deployment.
Let’s type the below command to check the status of our deployment.
kubectl get pods

If you type the above command right-after the previous command, you might get the STATUS as ContainerCreating. Give it some time to run the process! Further, if you go to the dashboard now, the deployment will get listed and the status will be shown as in-progress. You can also notice that the Pods value is 0/1.
Let’s deep dive into our pod to get some more information. Type the below command. Don’t forget to change the podname!
kubectl describe pod dh-nginx-3830712953-ld3g9
You should get an output similar to the below.
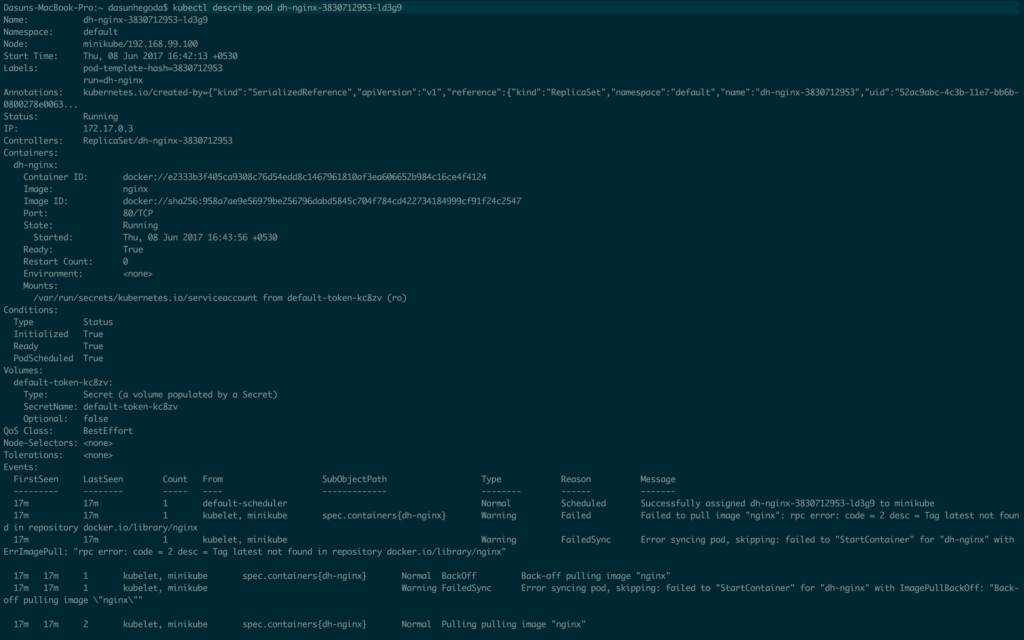
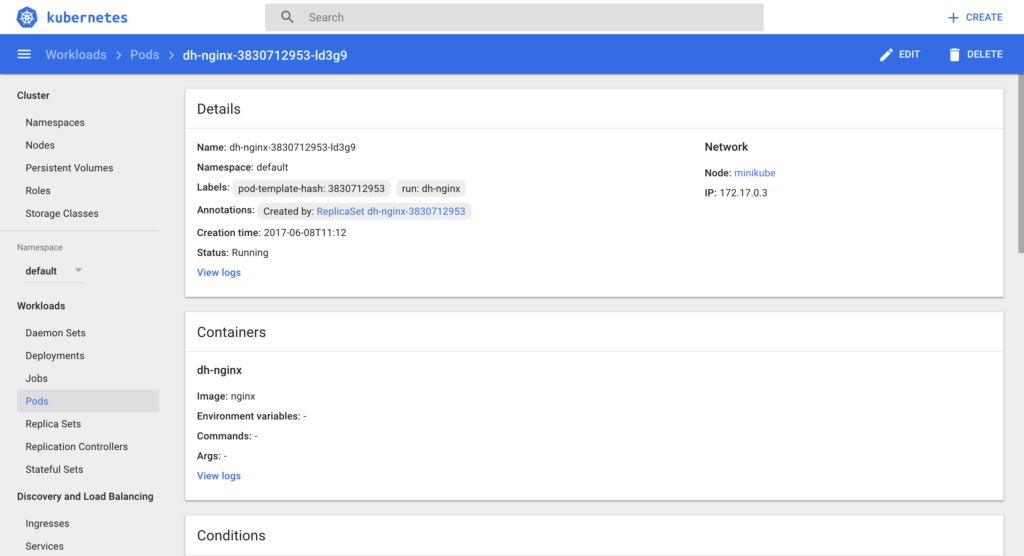
Don’t worry! There is an option to get all of the above information on the dashboard, which is more user-friendlier and easy to understand. You can access the Pods via the Pods link under Workloads as shown below.
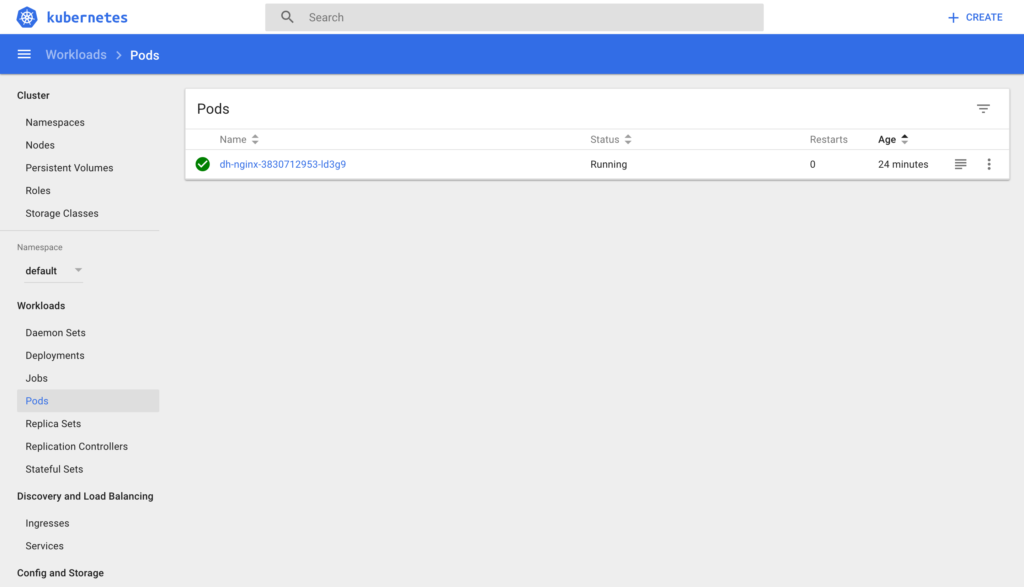
Now, let’s click on the Pod to get more details.
Expose Pod as a Service
Let’s try to understand why services are important in Kubernetes by reading the 1st few paragraphs of this article.
Type the command shown below.
kubectl expose deployment dh-nginx --type=NodePort
It should give you the below output.

If you re-visit the Dashboard and go to the Services section, you can see the dh–nginx service entry. Check the below (see the top row).
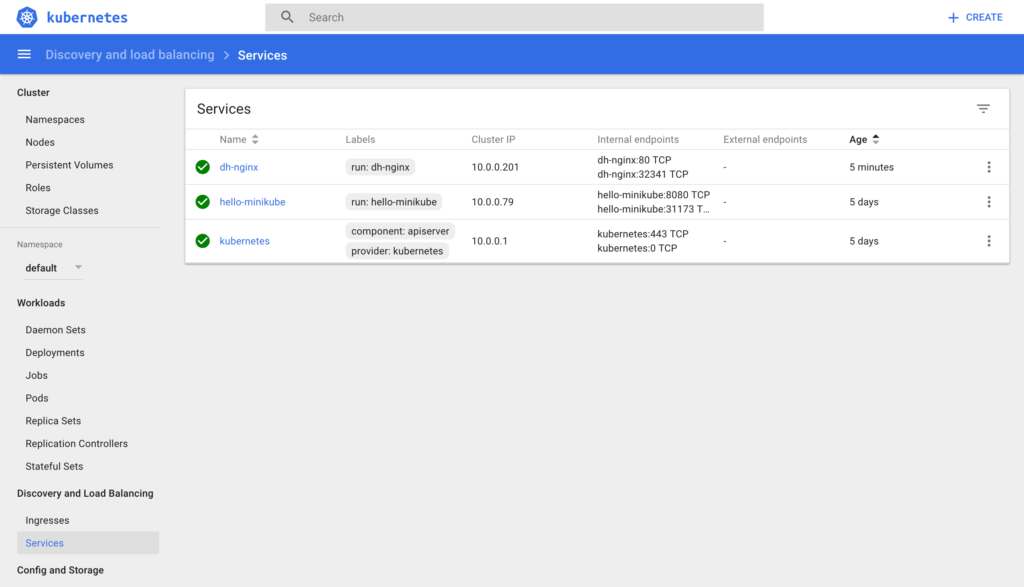
There is another approach to get this information. Type the below command.
kubectl get service
It should give you the below output.

Let’s see the Nginx running now.
minikube service dh-nginx
The above command will launch the kubernetes service default/dh-nginx in your default browser.
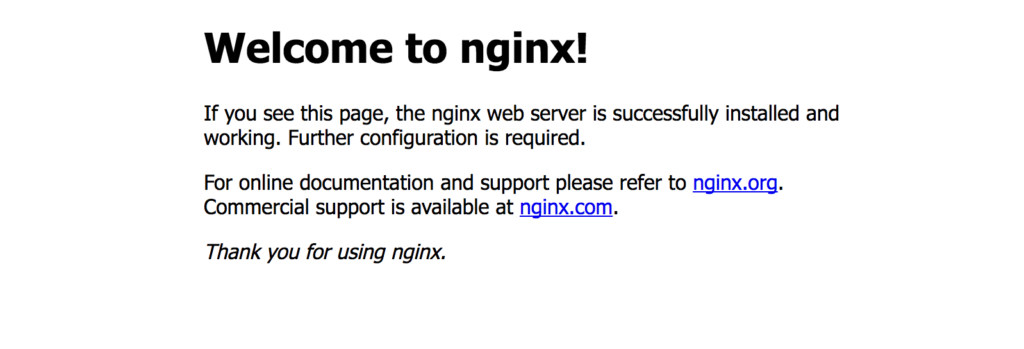
If you want to get the URL of the service, add the –url=true to the above command. See the output below.

I hope you have now accessed the service on your browser as shown above, Let’s go to the Service link in the Dashboard & click on the dh-nginx service. Further click on the icon for Logs as shown below.
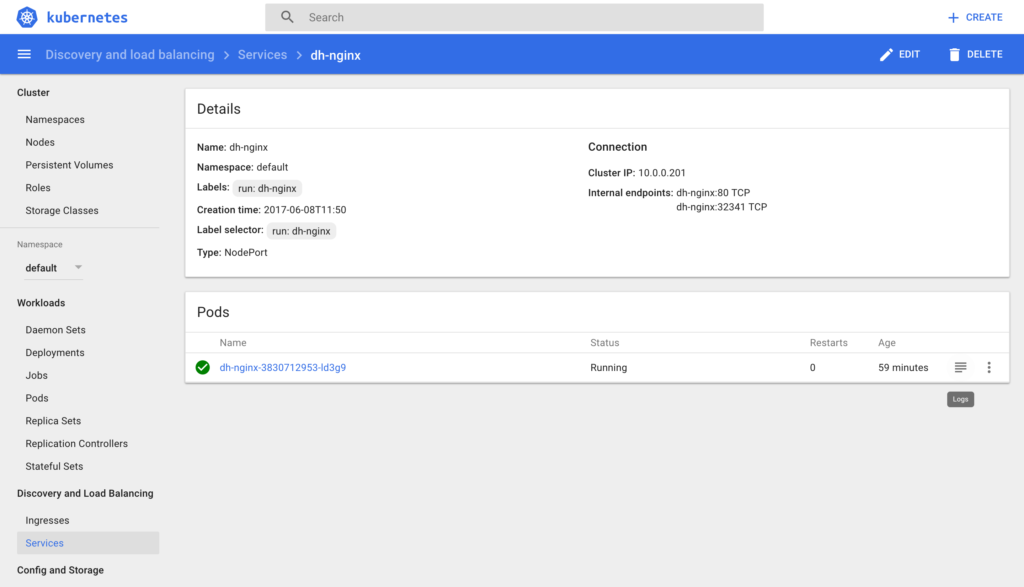
It will launch another tab on your browser and will show you the logs for that particular Pod along with the HTTP Request calls that were just made.
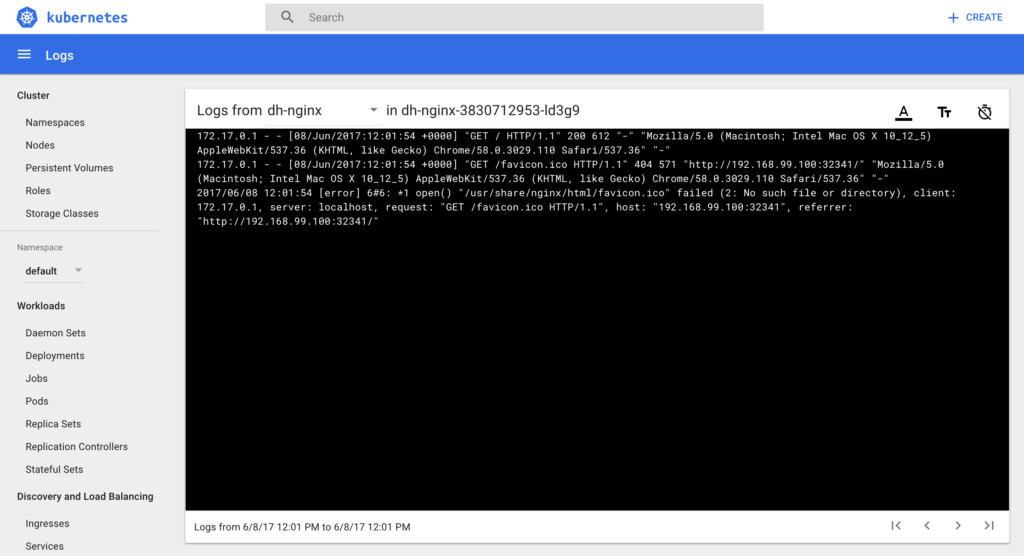
If you are a command line fan, type below command to get the logs. Don’t forget to change the podname accordingly.
kubectl logs dh-nginx-3830712953-ld3g9
See the output below.

Scaling the Service
This is the most interesting part of Kubernetes. At the deployment, we didn’t mention the number of instances for our service. So we just had one Pod that was provisioned on the single node. Let’s try to scale. The current deployment status is as below.
kubectl get deployment

Let’s scale now. Type the below command.
kubectl scale --replicas=3 deployment/dh-nginx
You should get the output below.

You can check the current status of the deployment now.

Let’s switch to the Dashboard view. If you visit the Deployment & click on the dh-nginx, you should be able to see the 3/3 pods available.
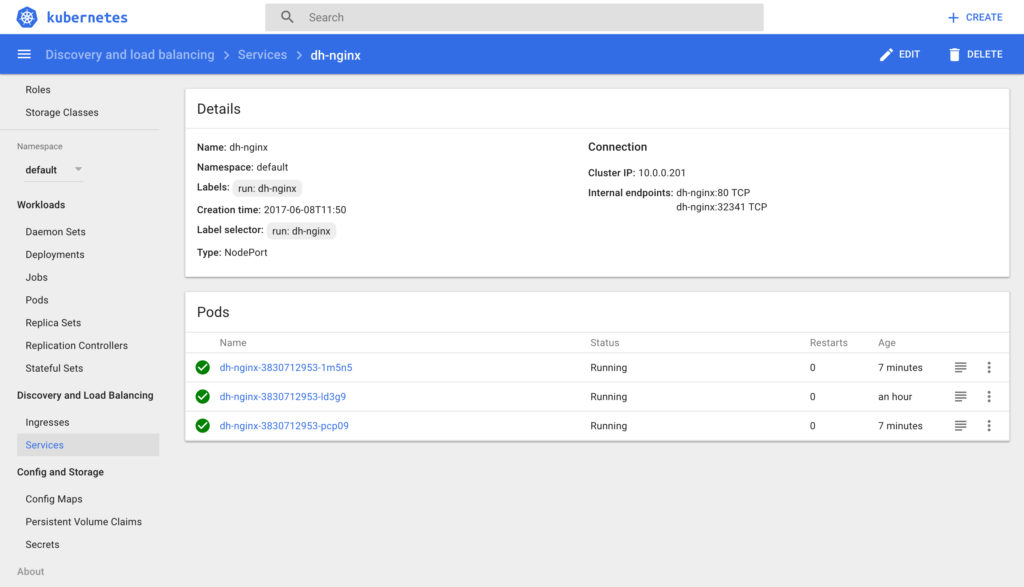
You can scale down similarly. Type the below command to scale down the service.
kubectl scale --replicas=2 deployment/dh-nginx
Now go to services and check it out.
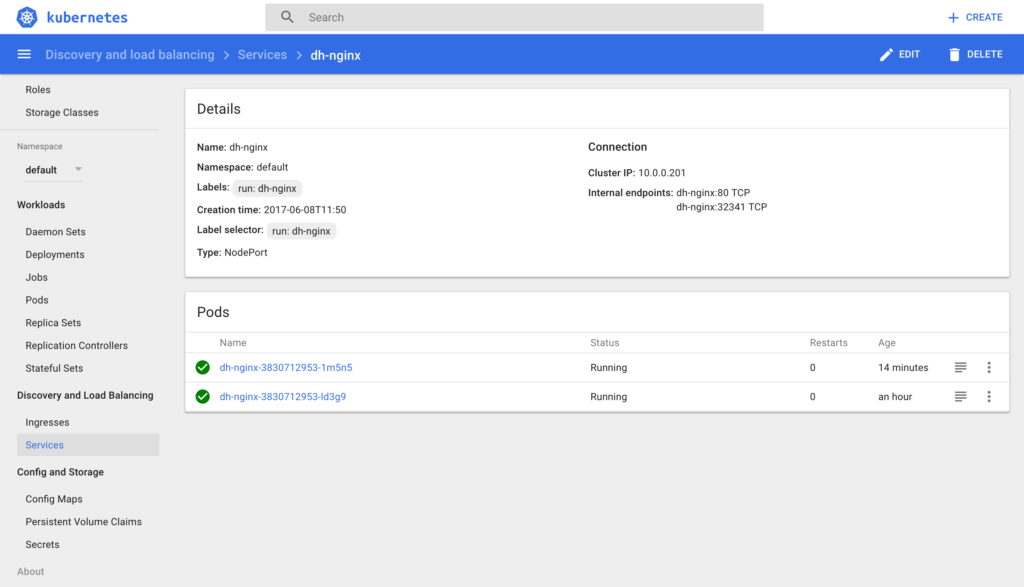
Summary
Kubernetes is an amazing product and you can do a lot with it. The purpose of this article is to give you a sneak peek on what it can do. You can explore the beauty by yourself now. That’s about it! If you have any questions, let me know in the comments below. Don’t forget to give your feedback on the post (happy-face).
![]()

