
How’s it going tech folks? I have been using NoSQL for a while now and I like it. So today I’m going to talk about how to deploy (Install) a Couchbase database cluster on Ubuntu.
What’s Couchbase
Couchbase is one of the most popular NoSQL databases. If you are wondering why NoSQL? Read here. Anyway what they say about Couchbase is “Develop with Agility & Operate at Any Scale” and it’s true. If you are looking for the history according to Wikipedia.
Couchbase Server, originally known as Membase, is an open-source, distributed multi-model NoSQL document-oriented database that is optimized for interactive applications.
You can find plenty of articles about Couchbase on the internet. Therefore I’m not going to do an comprehensive introduction here. Furthermore Couchbase has been used in following use cases.
- Real-Time Big Data
- Mobile Applications
- Profile Management
- Content Management
- Customer 360° View
- Internet of Everything
- Fraud Detection
- Catalogs
- Personalization
- Digital Communication
A big list right? I know you can find more information here. Okay okay I’m not going to beat around the bush. Let’s drive into the deployment (installation).
Deployment (Installation)
Here we go!!!
1. Downloading
Go to this link to download the Couchbase server (suited for your purpose) into to your Ubuntu instance.
2. Installation
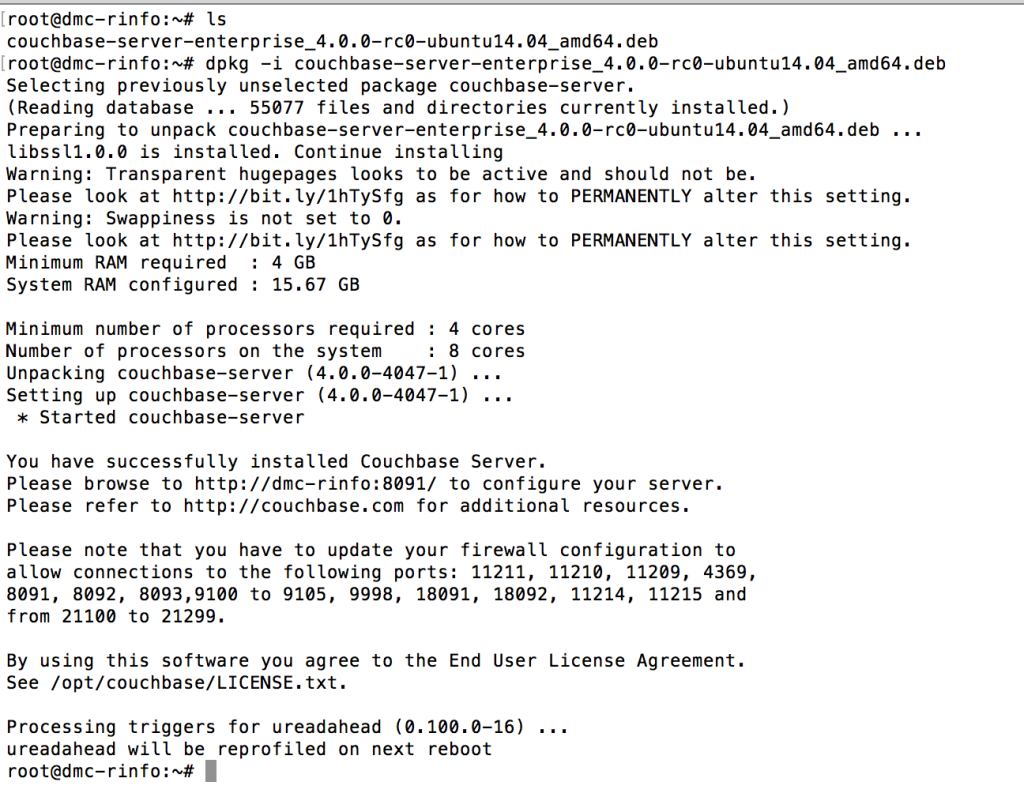
Once the download is completed you should have a .deb (couchbase-server-version.deb) file. To install, use the dpkg command-line tool using the DEB file that you downloaded.
dpkg -i couchbase-server-enterprise_4.0.0-rc0-ubuntu14.04_amd64.deb
You should get a output like below.
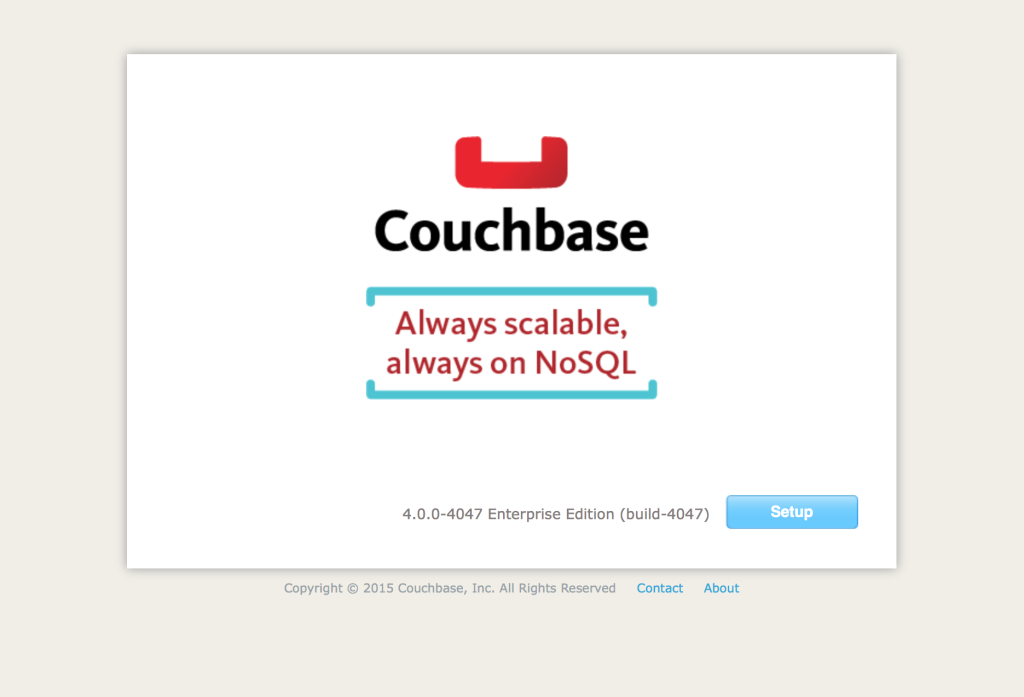
3. Setting up from web
To complete the rest of the installation browse to http://IP_of_your_instance:8091. You should get a screen like below.
 Press Setup. Next screen will be as below. Set the hostname properly. For the time being you are good to go with other given parameters.
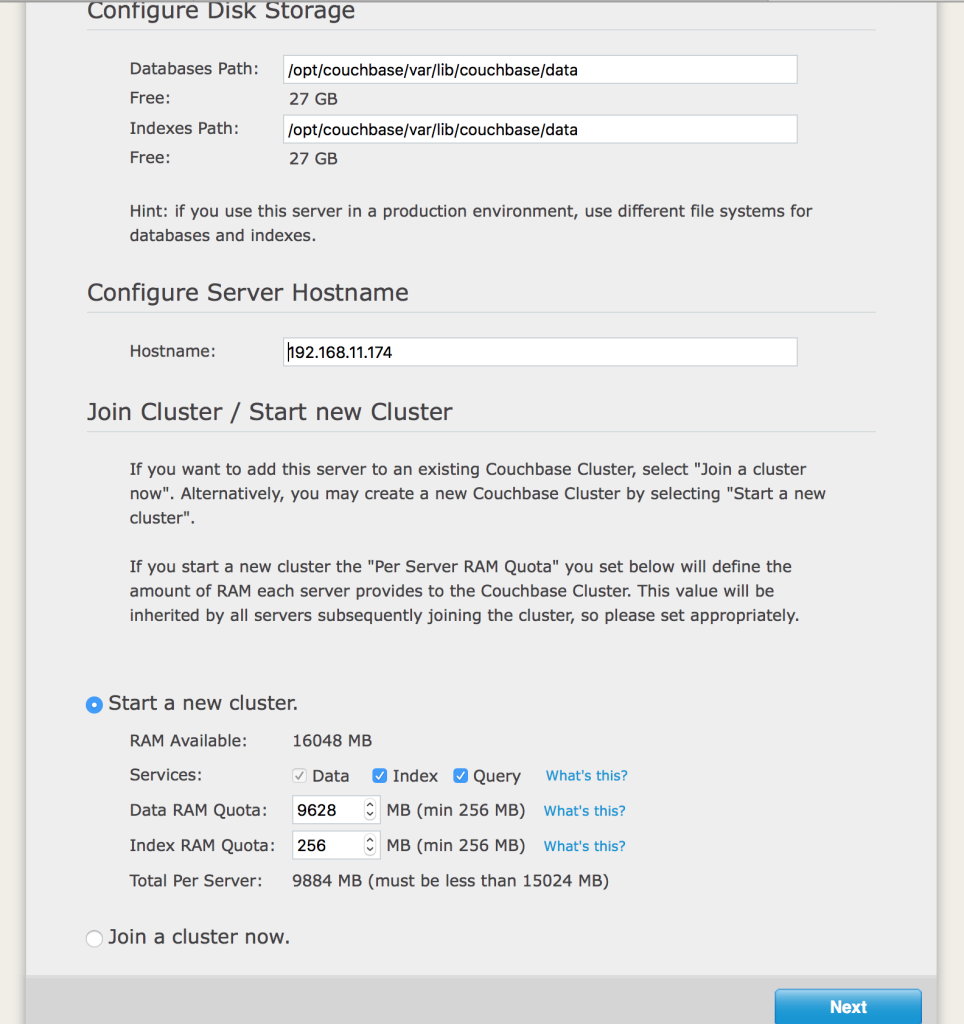
Press Next. For the time being you are good to go with these given parameters as below.
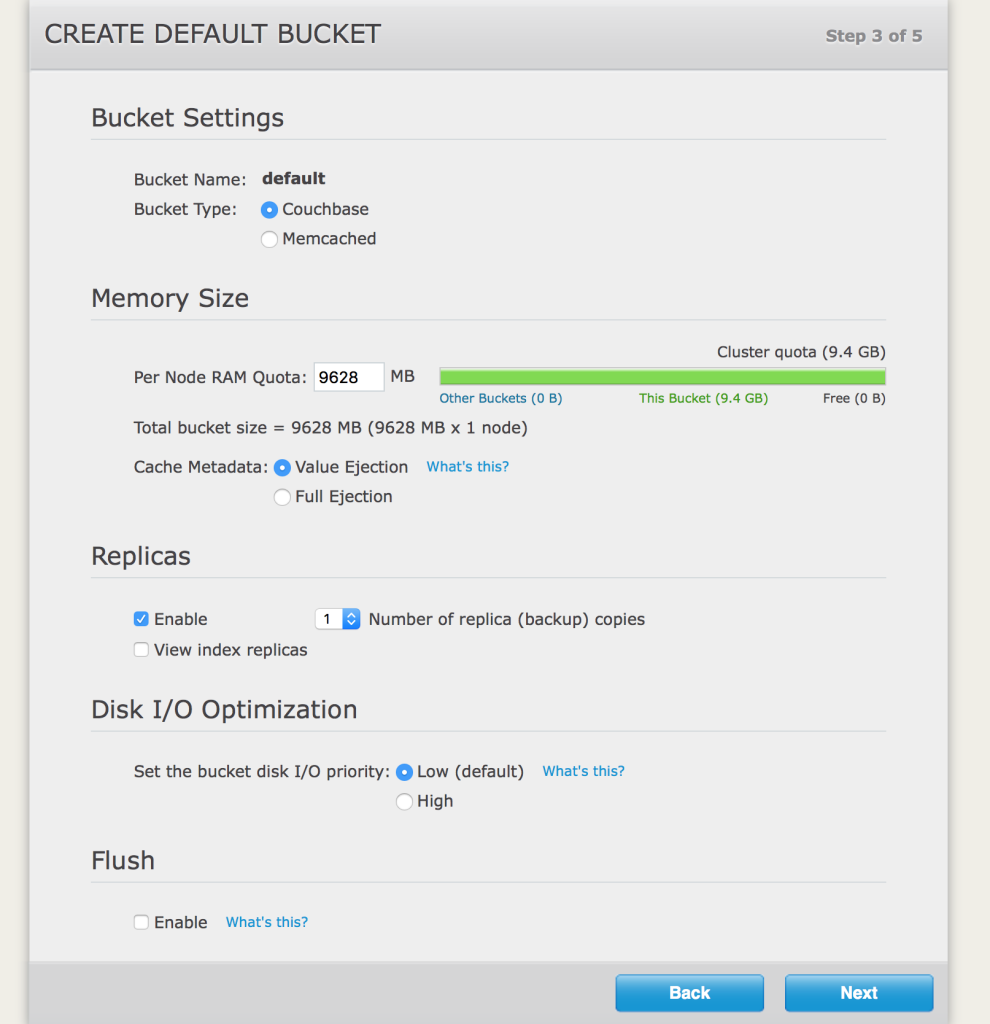
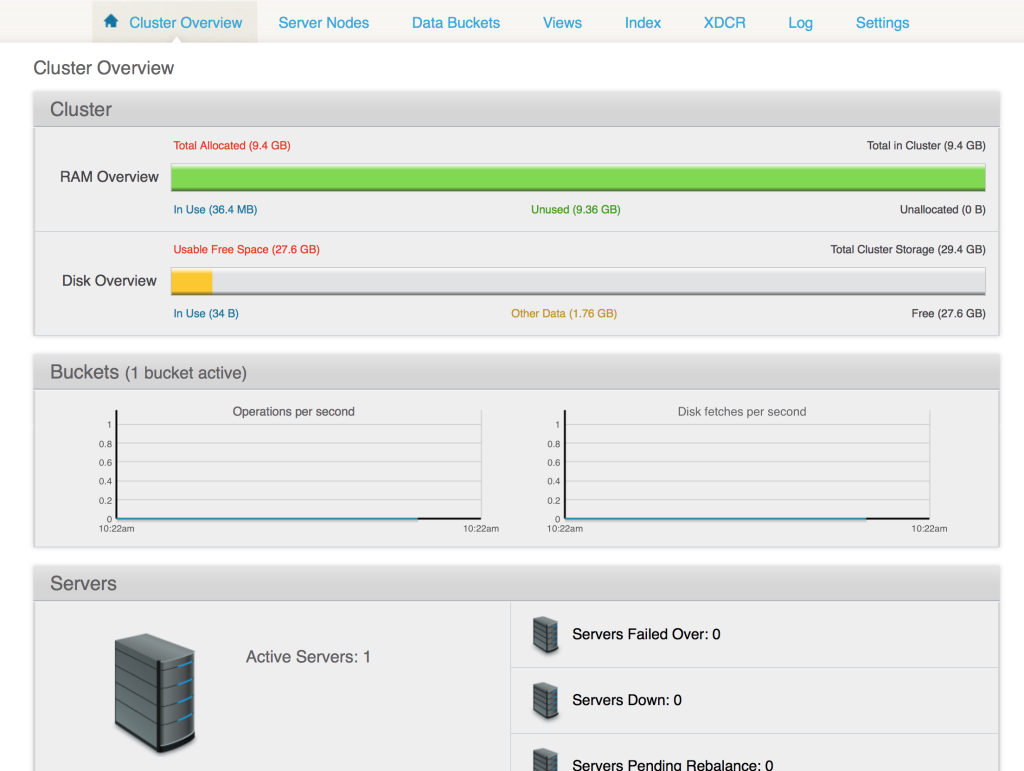
Press Next. Next two steps are to enter your personal information and set a username and a password for the administrator login of Couchbase. You should be able to get it done by yourself because it’s death simple. If you have gone through the steps successfully, once you login to the administrator portal you should get a screen like below.
4. Setting up the other instance(s)
As you know adding a MySQL instance to a cluster would be cumbersome but when it comes to Couchbase it’s really easy. For the next instance you are adding you need to follow step 1 and step 2 as previously. Now browse to http://IP_of_your_instance:8091. You should get a screen like below (Just like earlier).
Press Setup. This time configurations are a bit different. See the screen below.
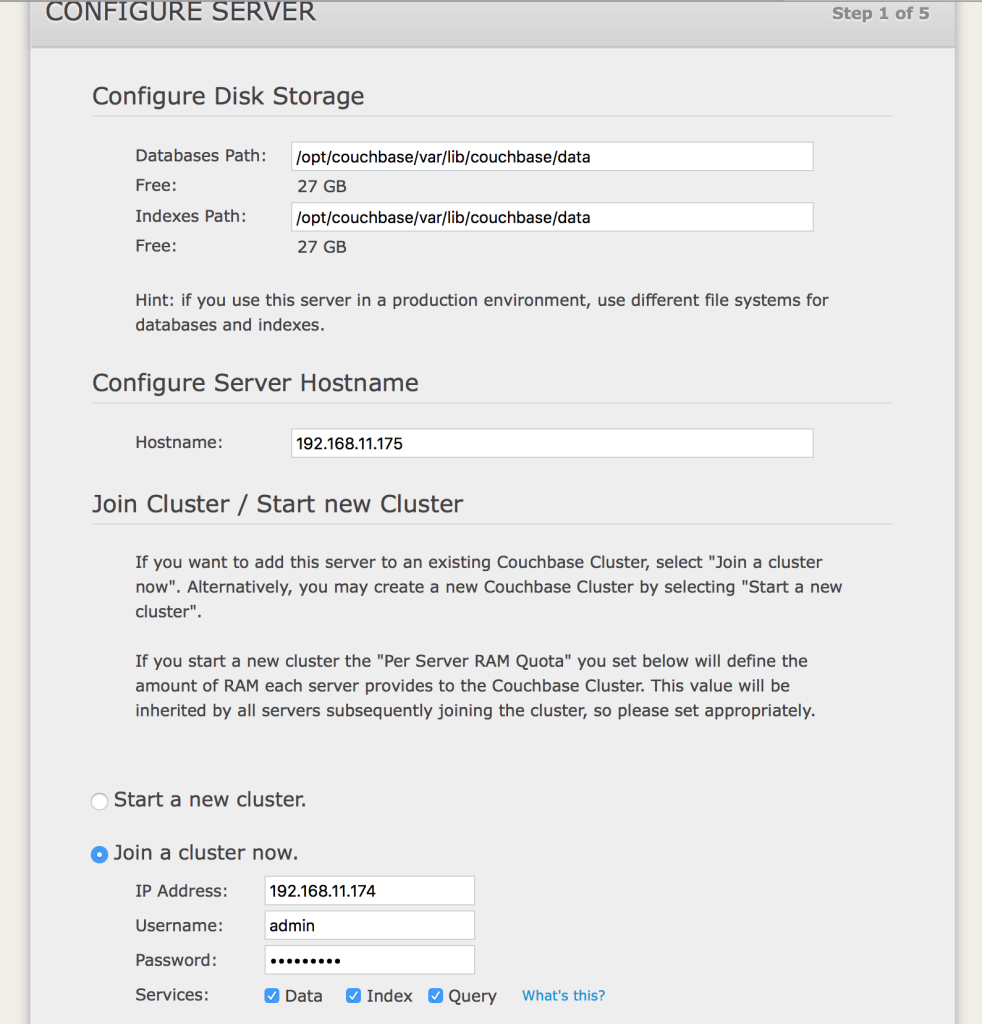
As you can see above this time we are not going to ‘start a new cluster’ rather we are going to ‘join a cluster’ which we previously started. Use the IP address, Username and Password of the initial instance and press Next. Once you are done with the next few steps, you should get a screen like below.
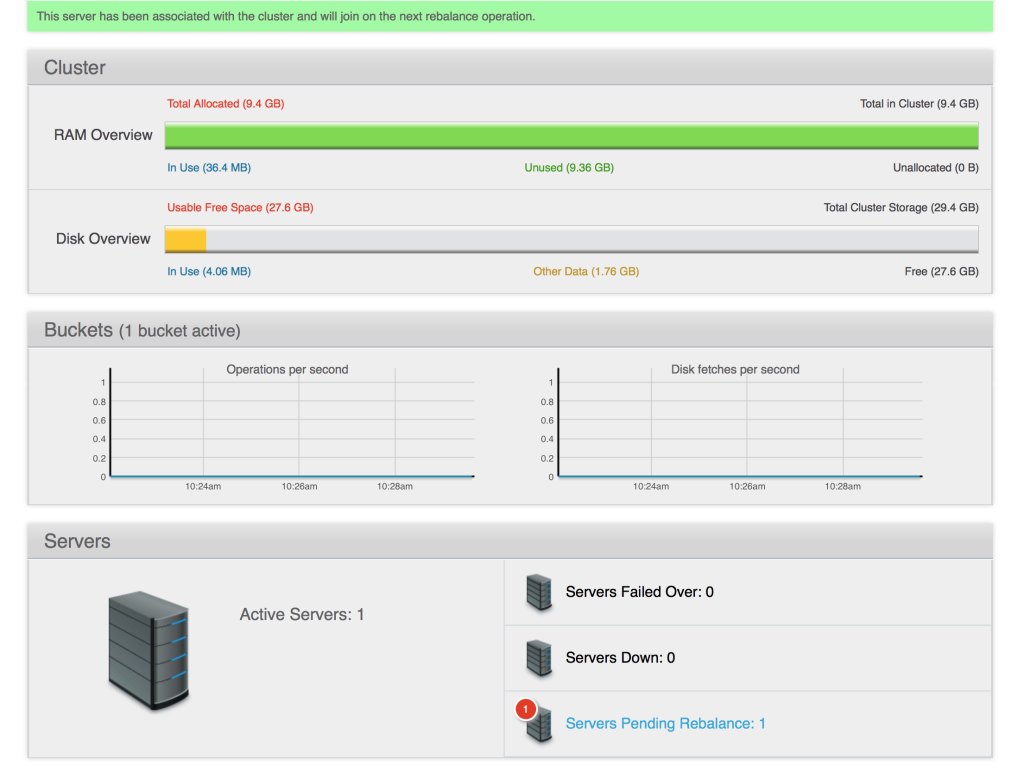
Now the cluster is being rebalanced because we just added a new instance to the cluster. Rebalancing process should look like below.
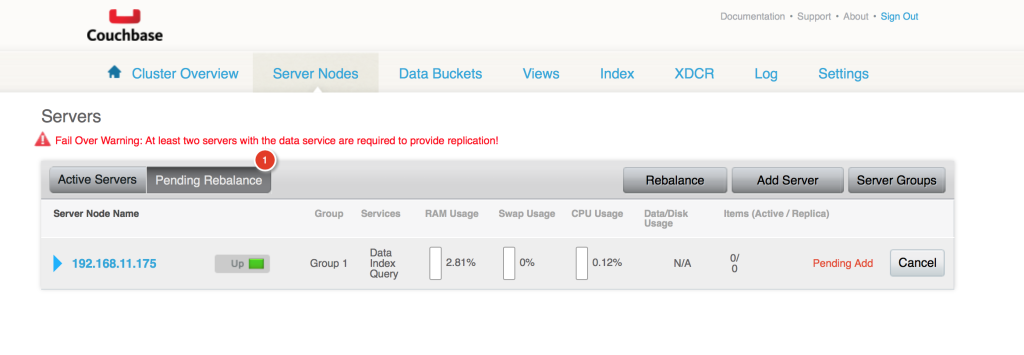
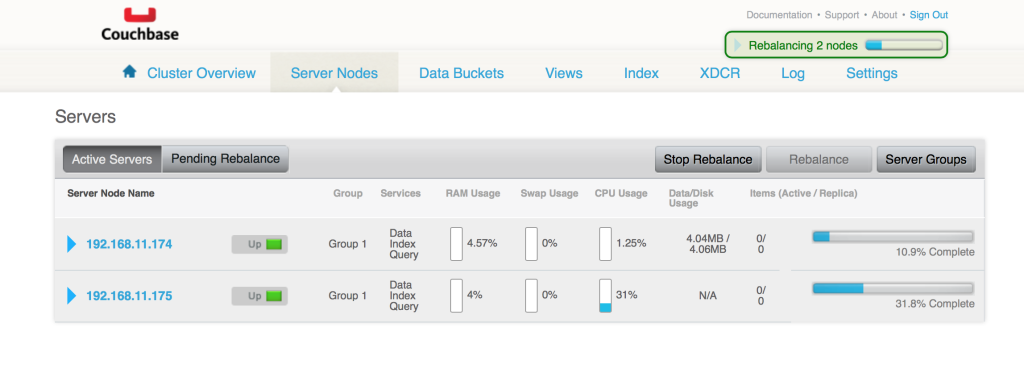
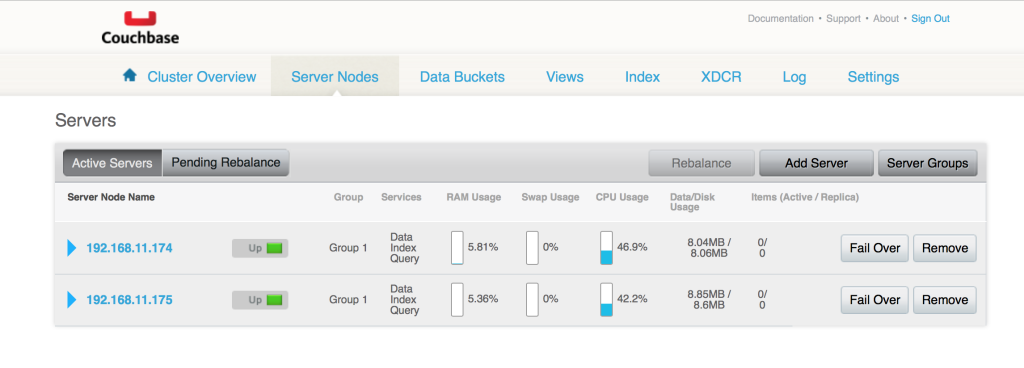
Once it’s done you have a Couchbase cluster waiting for you. Oh yeah!!!
That’s about it. If you have any questions let me know in the comments below. Your feedback is highly appreciated(happy-face).
![]()